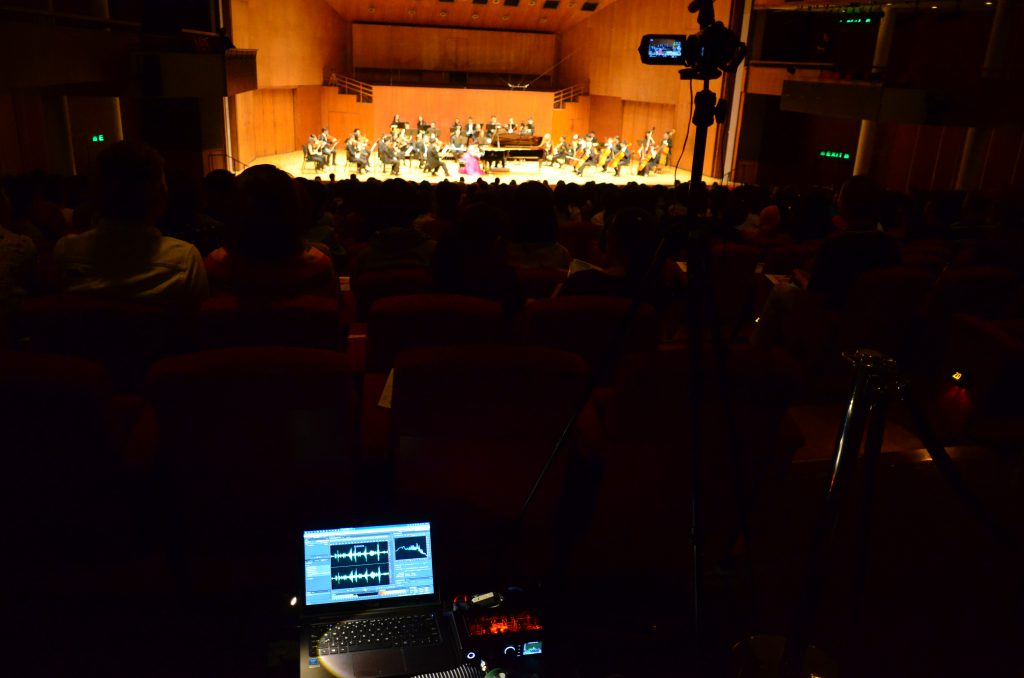
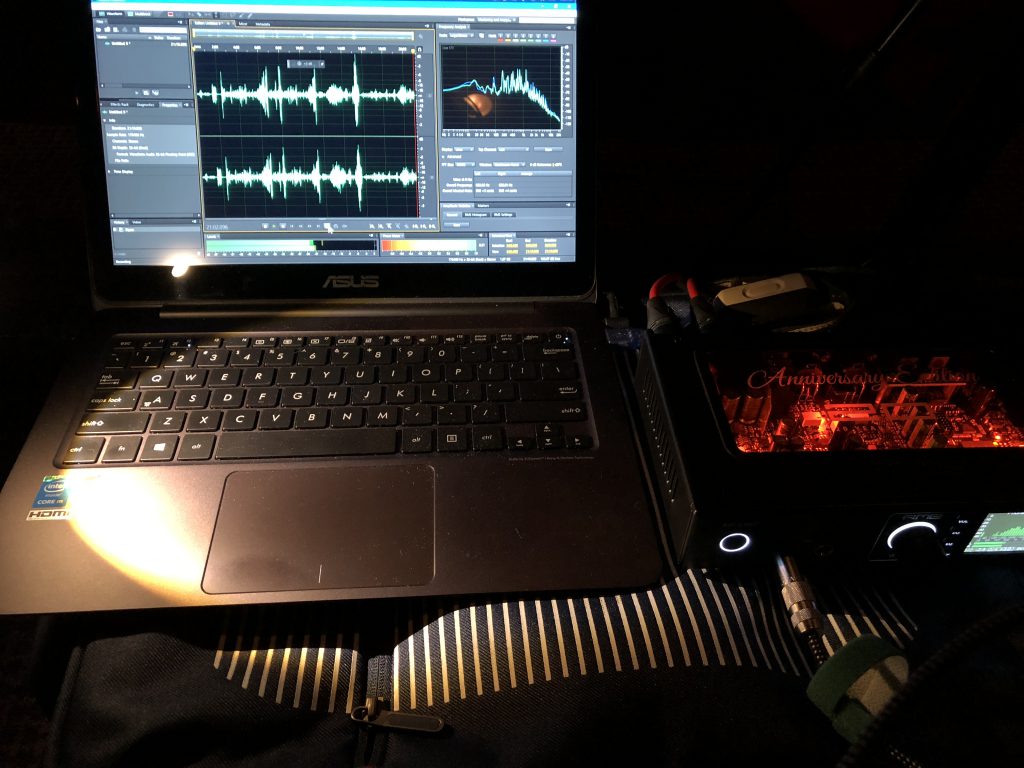
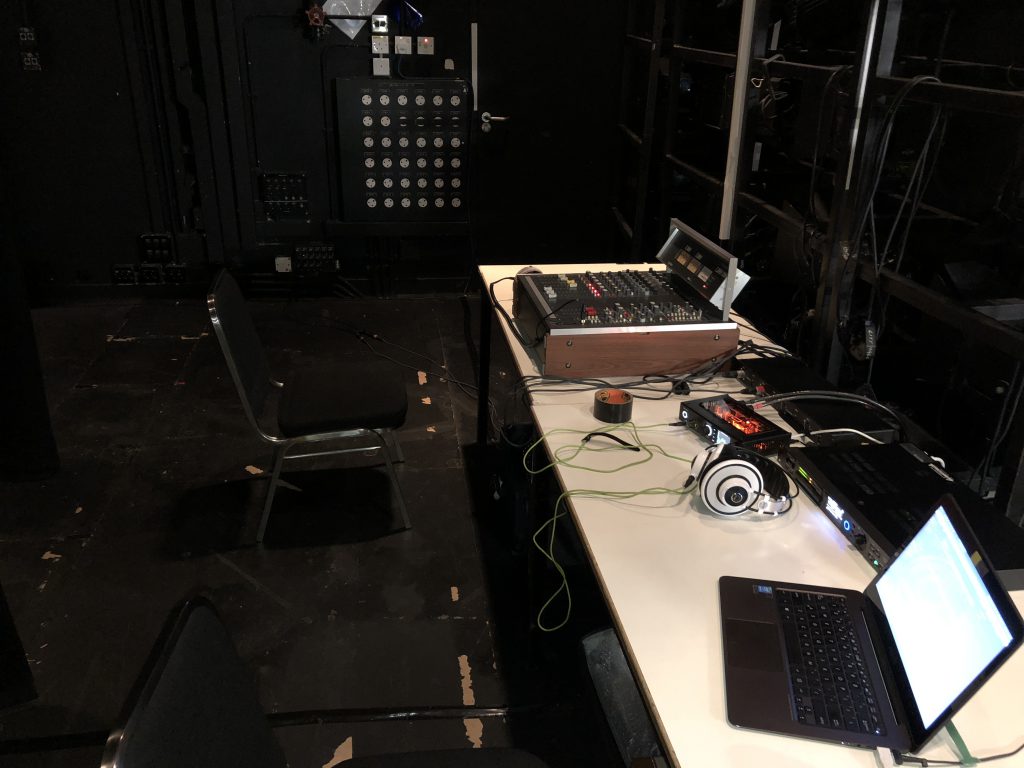
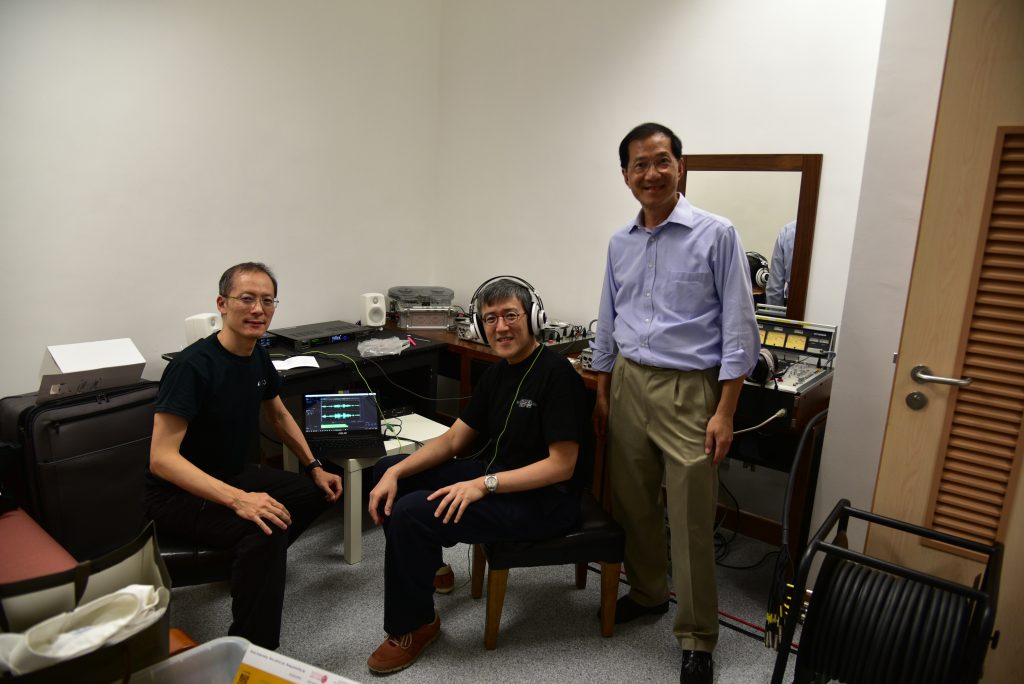
Asia Audio Society members recorded this full-house concert in PCM 32/176.
Reference sound recording and reproduction
Asia Audio Society members recorded this full-house concert in PCM 32/176.
Asia Audio Society members recorded the concert in PCM 32/176 and DSD128. Equipment used include Studer mixing desk and vintage valve microphones.
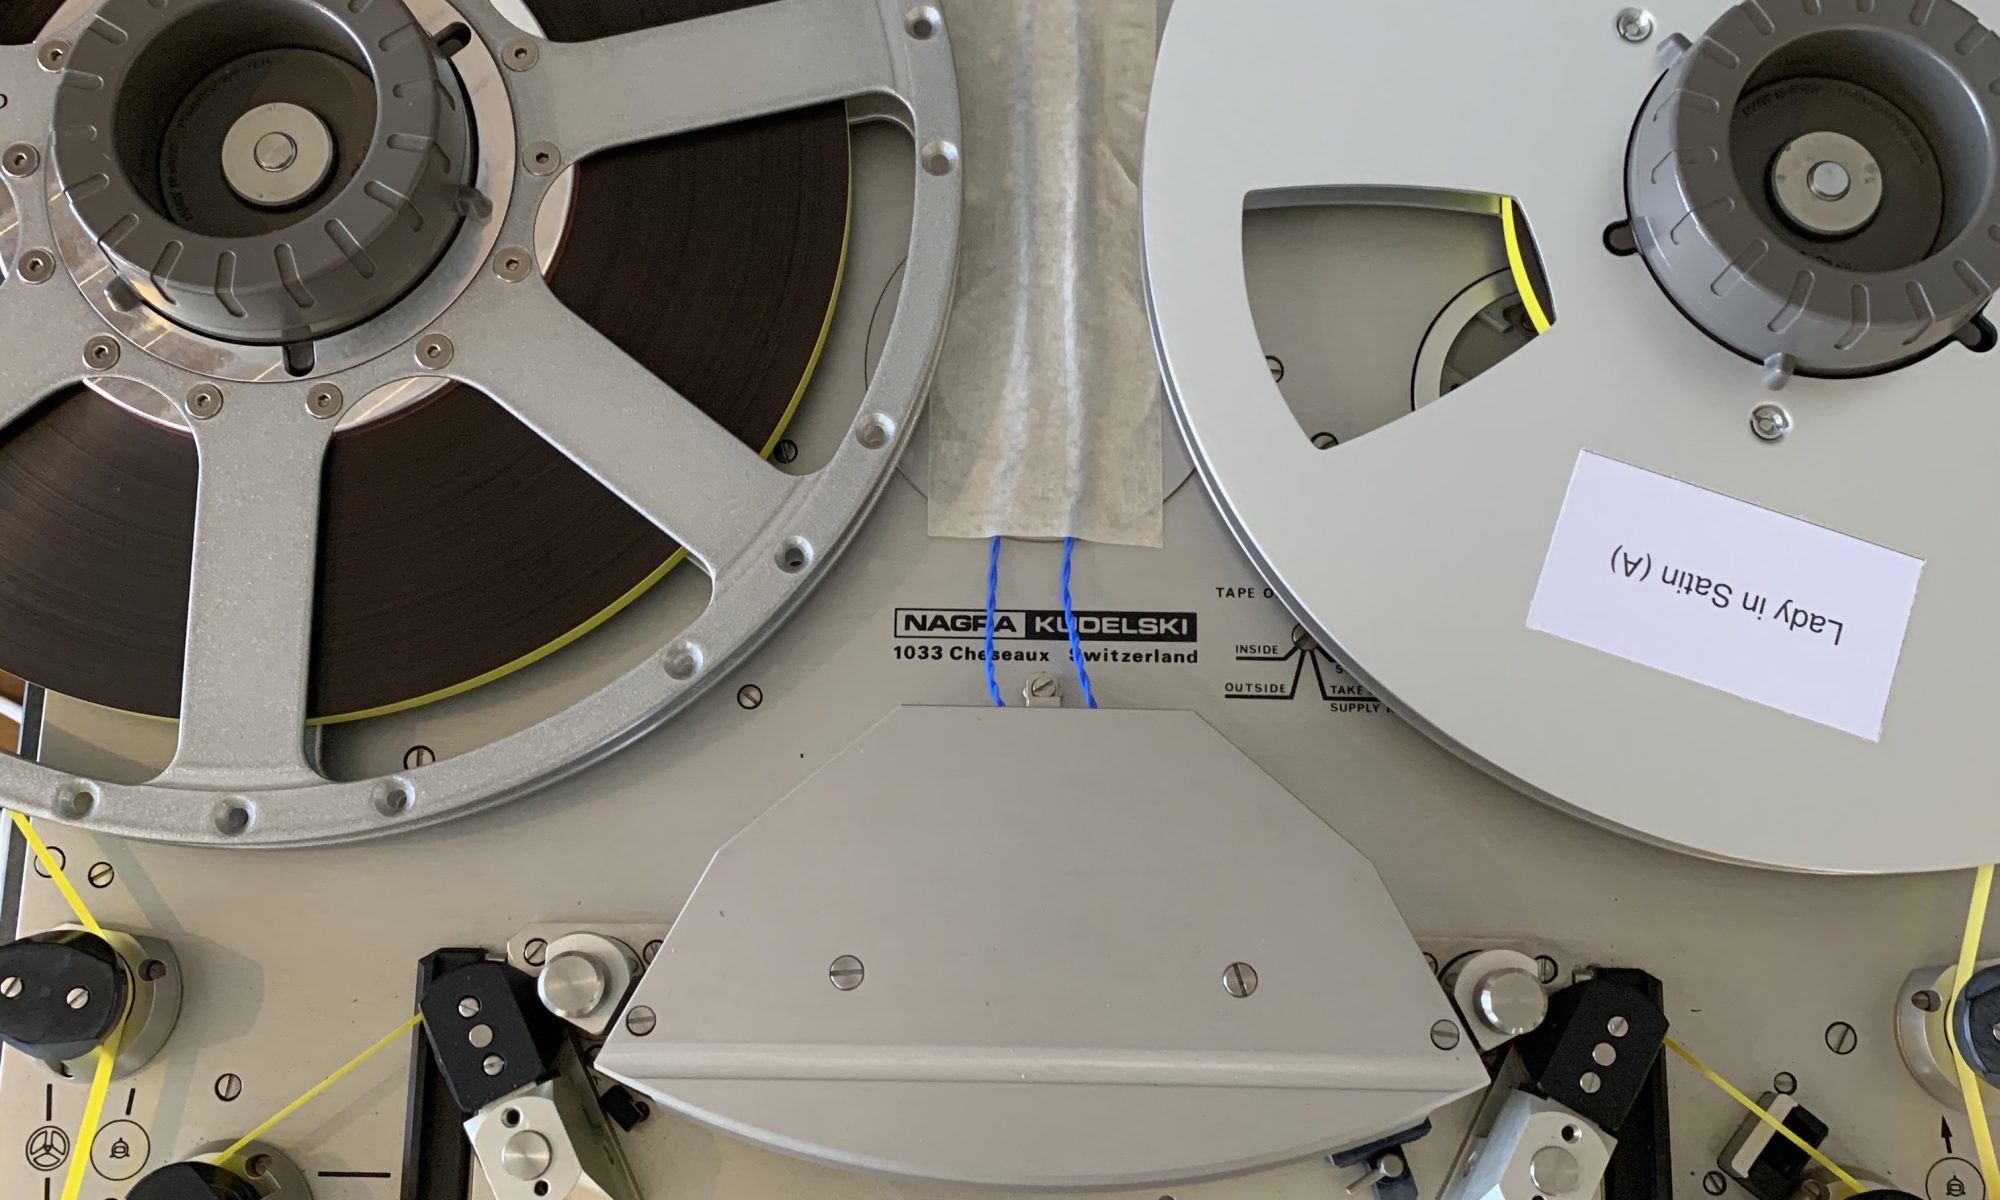
My first encounter with reel to reel tape recorders came in the late 1990s when I bought a Nagra IV-S with QGB 10.5″ reel adapter. I had already been interested in high fidelity audio for 15 years by then, but I was introduced to the world of audio recording by some friends after my return to Hong Kong in 1997. I disliked the quality of Redbook digital, and high definition digital was still new at that time and the equipment was expensive. Analogue recorders, on the other hand, were very cheap, and I was able to buy a large lot of Ampex studio recording tapes at a close out price. Used aluminum reels could be bought for US$1 each in surplus stores in Hollywood ! Over the following 7 to 8 years, we made dozens of recordings, mostly orchestral and some chamber music. After moving to a larger apartment 12 years ago, I had more space and wanted a master recorder for editing and playback. The IV-S is good for neither task; its playback electronics is more of an afterthought, and it does not allow for precise positioning of the tape for editing. The Nagra T-Audio recorder was initially developed as a scientific instrument, and later adapted for the television and film industry. Due to its substantial cost when it was introduced, it was too expensive for most music studios. The listed price in 1983 was £26,000, enough to buy a modest house in London ! Luckily, by the mid-2000s, analogue has fallen out of favor, and I was able to pick one up, fully refurbished with new heads, from Nagra for 8000 CHF. Still a substantial sum, and about twice the going rate for a Studer A80 at the time. However, I was attracted to its small footprint and the amazingly precise mechanical function, which makes tape editing very easy.
At around the time I bought the machine, The Tape Project in the US started to release commercial recordings on 15ips open reel tape. In the past, we were only able to get professionally recorded materials on bootlegged copies of master tapes, usually production masters, distribution masters or safety masters. One had to know the ex-engineers who possessed these tapes, and convince them to make copies for you (for a price). The Tape Project brought this into the mainstream, with fully licensed copies made from session masters provided by record labels. Soon, others joined in the fray, with some small record companies releasing their old analogue recordings (Opus 3, Foné), others licensing famous recordings of yesteryear (The Tape Project, Analogue Productions), and companies actually recording new materials for release on tape (Yarlung Records, Master Tape Sound Lab, Chasing the Dragon). The Tape Project managed to license two famous Decca recordings, thanks to Mr. Winston Ma of First Impression Music. The Suite Espanola in particular is a recording masterpiece by Kenneth Wilkinson, and it is well worth getting into reel to reel playback for this recording alone. Apparently, it is extremely difficult to convince Universal Music, the owner of the Decca catalogue, to license material for tape release, which Mr. Ma managed to do. Up to this day, these are the only two Decca recordings released in tape format that I am aware of. To be honest, it is much easier to pirate a high definition download than an analogue tape, and audiophiles would always want a first generation tape if given a choice, so their fear is misplaced. Happily, Decca also made recordings for RCA during the 1960s, and some of these wonderful recordings have been made available by Analogue Productions.
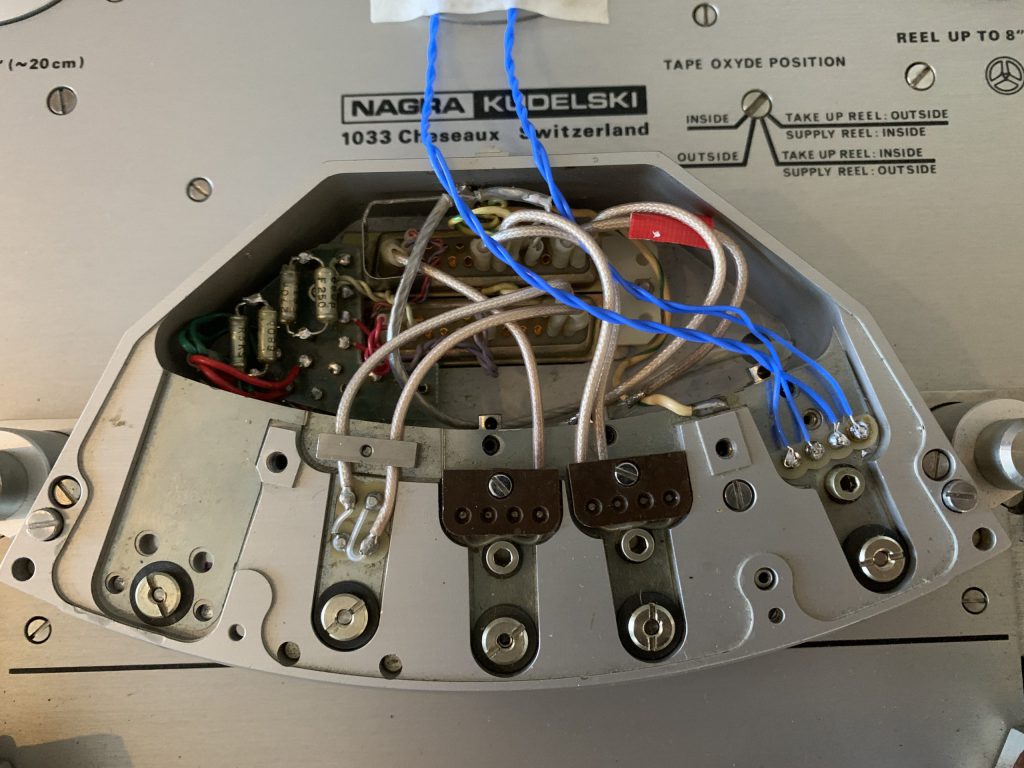
Dan Schmalle (a.k.a Dr. Bottlehead), one of the founders of The Tape Project, also uses a T-Audio. He advocates using an external head preamplifier to bypass the player’s native repro electronics. I was fascinated by this possibility and decided to experiment. I contacted Tim de Paravicini in the UK, whom I have known since the mid-80s, since he is well known for modifying tape recorders and supplying the electronics for some of the best recording and mastering studios in the world. Doc B’s approach is to disconnect the cables that run from the head to the repro electronics at the back of the machine and solder these to connectors installed on the spare holes on the back panel (the machine has two spare holes for the optional 30ips copy output). He runs another set of cables from these connectors to his head preamp. Tim thought this was a bad idea, since he predicted that noise would become a problem. Tim’s opinion was that the sound quality of the native electronics is mediocre, but actually quite respectable for a studio machine. He could improve the sound by modifying the repro electronics, but I would need to remove the boards and send them to him. Being habitually paranoid, I was afraid something could go wrong and the boards could get lost or damaged in transit. I contacted Nagra, but they informed me they no longer had any spares. I looked everywhere on line (and I am still looking), and although I have found lots of logic boards, I have never come across the audio board available for sale. Without the boards, the machine would not work. I thought about hand carrying the boards to him when I visit my son at Cambridge, but he still needs to send them back to me, as I would not be hanging around for weeks waiting for him to finish the work. As an aside, my recording partner sent him the repro boards for a Revox tape machine, and after the mods, the sound was magically transformed.
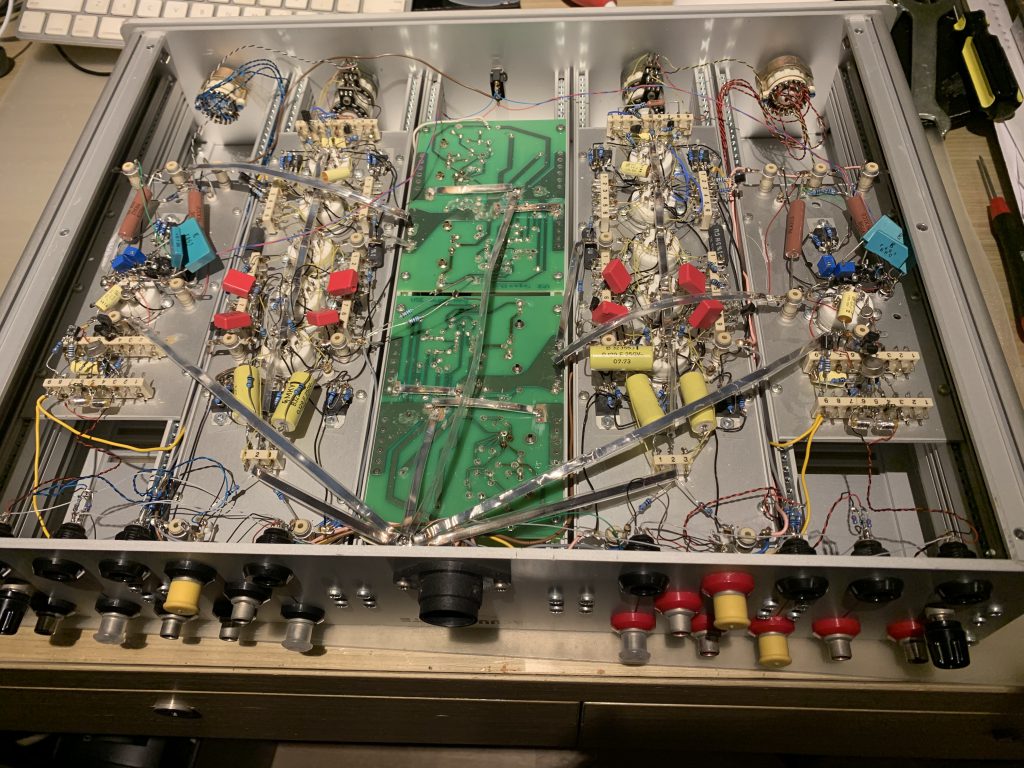
I just happened to have a spare phono preamp sitting on my shelf and I don’t have to invest in a new preamp, so it would be no great loss if I experiment with Doc B’s approach and fail. This preamp is Allen Wright’s RTP-3C. Or I should say a prototype of the RTP-3C. Allen was an Australian audio electronics guru who started his career at Tektronix designing the amplifier for oscilloscopes. Those were the days when the electronics were tube based, and needed to have a wide bandwidth in the megahertz range and with extremely low distortion. He subsequently built upon this basic circuit to design high performance audio amplifiers. He consulted for various manufacturers and did custom design work, and towards the end of his life, he started to manufacture his own equipment. He thought it was a good idea to publish his designs and to get feedback from enthusiasts. He recruited some “beta-testers”, me being one of the ten, and we were sent parts and instructions to build our prototypes. Everything was hard wired using the dark art of point to point wiring. It was an extremely complicated design, with twelve 6922/E88CC tubes. The phono stage only has one amplification stage, and the line stage only one amplification and one buffer stage. The design is fully balanced/differential without any feedback, including the passive RIAA equalization. The phono stage has 0.1mV sensitivity without resorting to transformers, and the bandwidth of the preamplifier is 1 MHz. It has a choke filtered power supply in a separate chassis, and the “Superreg” shunt regulators. It took us two years to build and optimize the final design. The cost was only 10% of retail, but the experience was priceless. After using the preamp for several years, I bought a factory built unit (with PCBs) in RTP-3D guise (the A and B iterations were never commercialized), and my original prototype has been sitting on my shelf ever since.
I plugged in the preamplifier for soak testing but after a while, two tubes blew. I replaced the tubes but they blew again. I finally figured out that the insulation pads of two of the LM317 regulators for the tube heaters have deteriorated, and their casings were shorting to the ground plane. I went ahead and replaced all the regulators just in case, and the preamplifier has been working fine thereafter.
The preamp has RIAA equalization for phono cartridges, but for tape, we need different EQ curves. I mostly use Nagramaster EQ for my live recordings, and most commercial releases use CCIR EQ. As I don’t have 7.5ips tapes or use other types of EQ, these are the only two I need. The CCIR EQ has a treble cut at 4500 Hz (a time constant of 35μs) during recording, but does not define a bass boost. The Nagramaster EQ defines a bass boost at 50 Hz (Tc = 3180μs) and a treble cut at 11,800 Hz (Tc = 13.5μs). The output of the repro head increases with frequency at a slope of 6dB/octave, which means the output doubles for every doubling of frequency. This is due to the physical property of magnetic tape playback. Therefore, the EQ for playback needs to have a low pass filter at the bass region starting after the bass boost, and a high pass filter to correct the treble cut. In the RTP-3C, the tube phono stage is a cascode, which for all intents and purposes has infinite source impedance, thus negating the need for feedback. The EQ calculations therefore only depends on the other resistive elements of the circuit. It was a simple matter of removing the components of the RIAA EQ and replacing them with a variable resistor. The resistance is adjusted until the output decreases by exactly 50%. The resistance across the resistor is therefore the resistance of the circuit. It is then a matter of dividing the bass time constant by the resistance to find the correct value of the capacitor to form the low pass filter. Although the CIRR curve does not specify a corner frequency for the low pass, the curve has to start from somewhere, and most recorders probably use a frequency of 25 to 30 Hz. There is also a “head bump” where the wavelength coincides with the width of the head gap causing resonance, which is usually at around 30 to 40 Hz with 1/4″ two track heads playing at 15ips. Experimentation is therefore needed to find the best value. For the high pass filter, it is a matter of dividing the time constant by the value of the capacitor we have chosen to find the correct resistor value. This is used as a ballpark figure to start our experimentation. By trial and error, I found that 0.34μF gave me the best looking low end response on CCIR, and 0.12μF for Nagramaster. To find the best resistor value for the high pass, I put in a 200R trimmer and adjusted until the frequency response is the flattest. To switch between the two EQs, I installed a DPDT latching relay and directly soldered the components onto the pins. I would love to use film and foil caps but there was just not enough space. Therefore, I used Kemet MKP caps and Halco precision metal film resistors.
Having defined the value of the EQ components is only half the battle. There is still the small matter of head loading. The inductance of the head, the capacitance of the cables plus the input stage, and the input resistance form a resonance circuit. If the resonance frequency is within the audio band, it will affect the frequency response. If used judiciously, it could be used to boost the sagging high frequency response. The recorder uses coaxial cables to connect the head to the repro electronics, and the cables have pretty high capacitance. When I measured the inductance of the playback head, I was astonished to find that it measured 670mH on the left and 690mH on the right. Most modern repro heads have inductance in the 100mH range, so this is rather high. This also means I don’t have a lot of room to add capacitance before the resonance frequency enters the audible range. By using the internal cables as suggested by Doc B (but extending them rather than soldering onto a connector), the resonance frequency ends up to be around 4kHz, and I needed to use a fairly low input resistance (23.5K per phase) to damp down the resonance. But this results in a 6dB drop at 16kHz, and 9dB down at 20kHz. Not a disaster, but could be better. The internal electronics of the T-Audio is pretty complicated and has all sorts of circuits to compensate for this, but this is anathema to my audiophile sensibilities. I left it at that for a while, and the sound is actually very good, without any obvious loss of high frequencies. However, the native playback of the machine does sound brighter and seems more dynamic, albeit more “electronic” and less organic than the tube preamp.
The one advantage of the RTP-3C is that it is a fully balanced design. Therefore, I can connect the head to the preamp in a balanced configuration, with the benefit of at least 60dB of common mode noise rejection if the components are well matched. I therefore twisted a pair of teflon coated pure silver wires together and soldered them directly onto the head block. With only 75cm of cable, the capacitance of this set up is 27pF. I played around with resistor and capacitor loading at the input, and managed to get a flat response to 16kHz and -1.2dB at 20kHz by loading with 15pF and 240K each phase. I called it quits at this point, being sick of the cycles of desoldering, resoldering, measuring and repeat. The frequency response using an MRL test tape at this point is +2.5dB at 32Hz, +1.2dB at 63Hz, flat to 16kHz and -1.2dB at 20kHz. The rest of the response is +/- <0.5dB.
So how is the sound ? Happily, Tim’s prediction did not come true. There is no noise whatsoever, only a soft tube rush if I put my ear against the mouth of the midrange horn. Compared to the native electronics, the sound is much more musical, with a greater sense of presence and palpability. The upper frequencies of the native playback seem harsh by comparison. The sense of space is eerie; the entry of the trumpets at the beginning of Leibowitz’s RCA recording of Pictures At An Exhibition (Analogue Productions) immediately showed the difference. The tube preamp gives the impression of distance and space, with the strings coming in in front of the trumpet, whereas the native playback presents a much flatter, two-dimensional view, with the trumpet placed more forward and without the sense of space surrounding the player. The timber of the instruments is more colorful and realistic, whereas the native playback tends to homogenize the sound a bit. A studio master copy of a Kondrashin recording of Shostakovich 10th symphony on Melodiya shows good layering of the instruments, the sound of the military drums at a distance giving a tremendous sense of foreboding. The scale of the sound can be overwhelming at times for those not used to hearing master tapes, as LPs and even commercial digital releases often have compressors and limiters applied. Bill Evan’s Waltz for Debbie released by The Tape Project gives a wonderful life-like presentation of the ensemble, the scintillating cymbals with rich overtones and excellent presence of the piano. Vinyl would not give such a solid impact to the piano notes, not even on my souped up Garrard 301.
With high resolution digital downloads now widely available, are there any reasons to go back to tape ? Is this pure anachronism, or another fantasy created by analogue diehards ? Admittedly, digital audio has made tremendous improvements since the days of perfect sound forever. They do sound ever more perfect than before, but this improvement only applies to newly recorded materials. Older digital recordings made with Redbook CD specifications would always retain their deficiencies, since up-sampling cannot rectify the problems created by anti-alias filtering, for example. The high frequencies lost to filtering, and the phase shift caused by the brick wall filter could never be undone. Ironically, analogue recordings transferred to high resolution formats using modern equipment can sound very good indeed. This depends on the condition of the master tapes as well as the skill of the mastering engineer and the care taken. In my experience, master tapes transferred without any compression to high bit rate DSD can sound extremely close to the analogue source. The availability of such transfers is still limited, and good DACs capable of fully realizing the quality of these high resolution formats are expensive. The best digital recordings are no doubt modern recordings made in high resolution digital formats. The sad fact is, the major labels nowadays are no longer investing money into making high quality recordings. Most labels no longer have recording teams and contract out the job to the lowest bidder. I doubt we will ever see the likes of Kenneth Wilkinson, Gordon Perry, Lewis Layton and Bob Fine again. And Kingsway Hall is but a distant memory………
And there is a ritual associated with analogue playback that endears enthusiasts. The periodic head demagnetization, head cleaning, threading the tape, splicing with a razor, cleaning the LPs, maniacally adjusting the VTA……… It keeps us busy. So, the argument is not so much digital vs. analogue, but finding the best way to maximize the pleasure from recordings made in the different era.
In this final part of the series I will talk about the (in)famous TriVista tube buffer and why you should bypass it.
What! I hear you say. Bypass the tube buffer? But the tubes are the reason for Trivista 21’s existence, right? I thought so too. Let me take you through the effort and expenditure I took to reach that conclusion. Let’s talk circuits. In the DAC section above we already discovered the output from the third op amp in the filter circuit is ready for output to the preamp. But instead of being made available at the back panel this signal goes through a unity gain buffer that contains the 5703 triodes. The 5703 triodes are not wired as traditional (and good sounding) cathode followers. Instead each channel has a pair of 5703 which form a long tailed pair in a discrete op amp configuration that also includes 7 bipolar transistors. Below are the improvements I made:
a) Matching the input valves: Performance of any long tailed pair hinges on perfect matching of the input devices so I purchased twenty JAN NOS 5703 and hand matched 2 pairs using an AVO valve tester. I did find the original valves were not matched.
b) Matching the NPN and PNP transistors in the second stage and output stage: originals were not matched at all.
Despite all this effort at a formal A/B test with and without the valve buffer all the Society members preferred the bypassed output with its much better transparency, communication of musical performance and far greater width and depth. I would like to try the tubes in a better circuit configuration in future and for now it was decided to permanently bypass the tube stage and disconnect the HT transformer to further reduce noise.
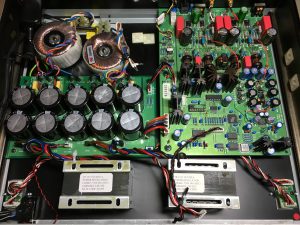
Figure 7: Trivista 21 (re-engineered)
Conclusion
After formal A/B comparison in a reference system we have determined that the re-engineered Trivista 21 is fully competitive with current DACs from Chord, Naim, Merging, Lumin. The secret is to correct the mistakes and use the correct (not just expensive) components. One last problem: now that the tube stage is disconnected do we still call it a Trivista?
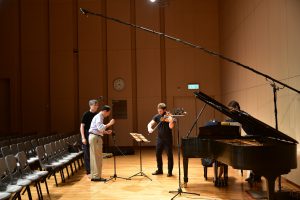
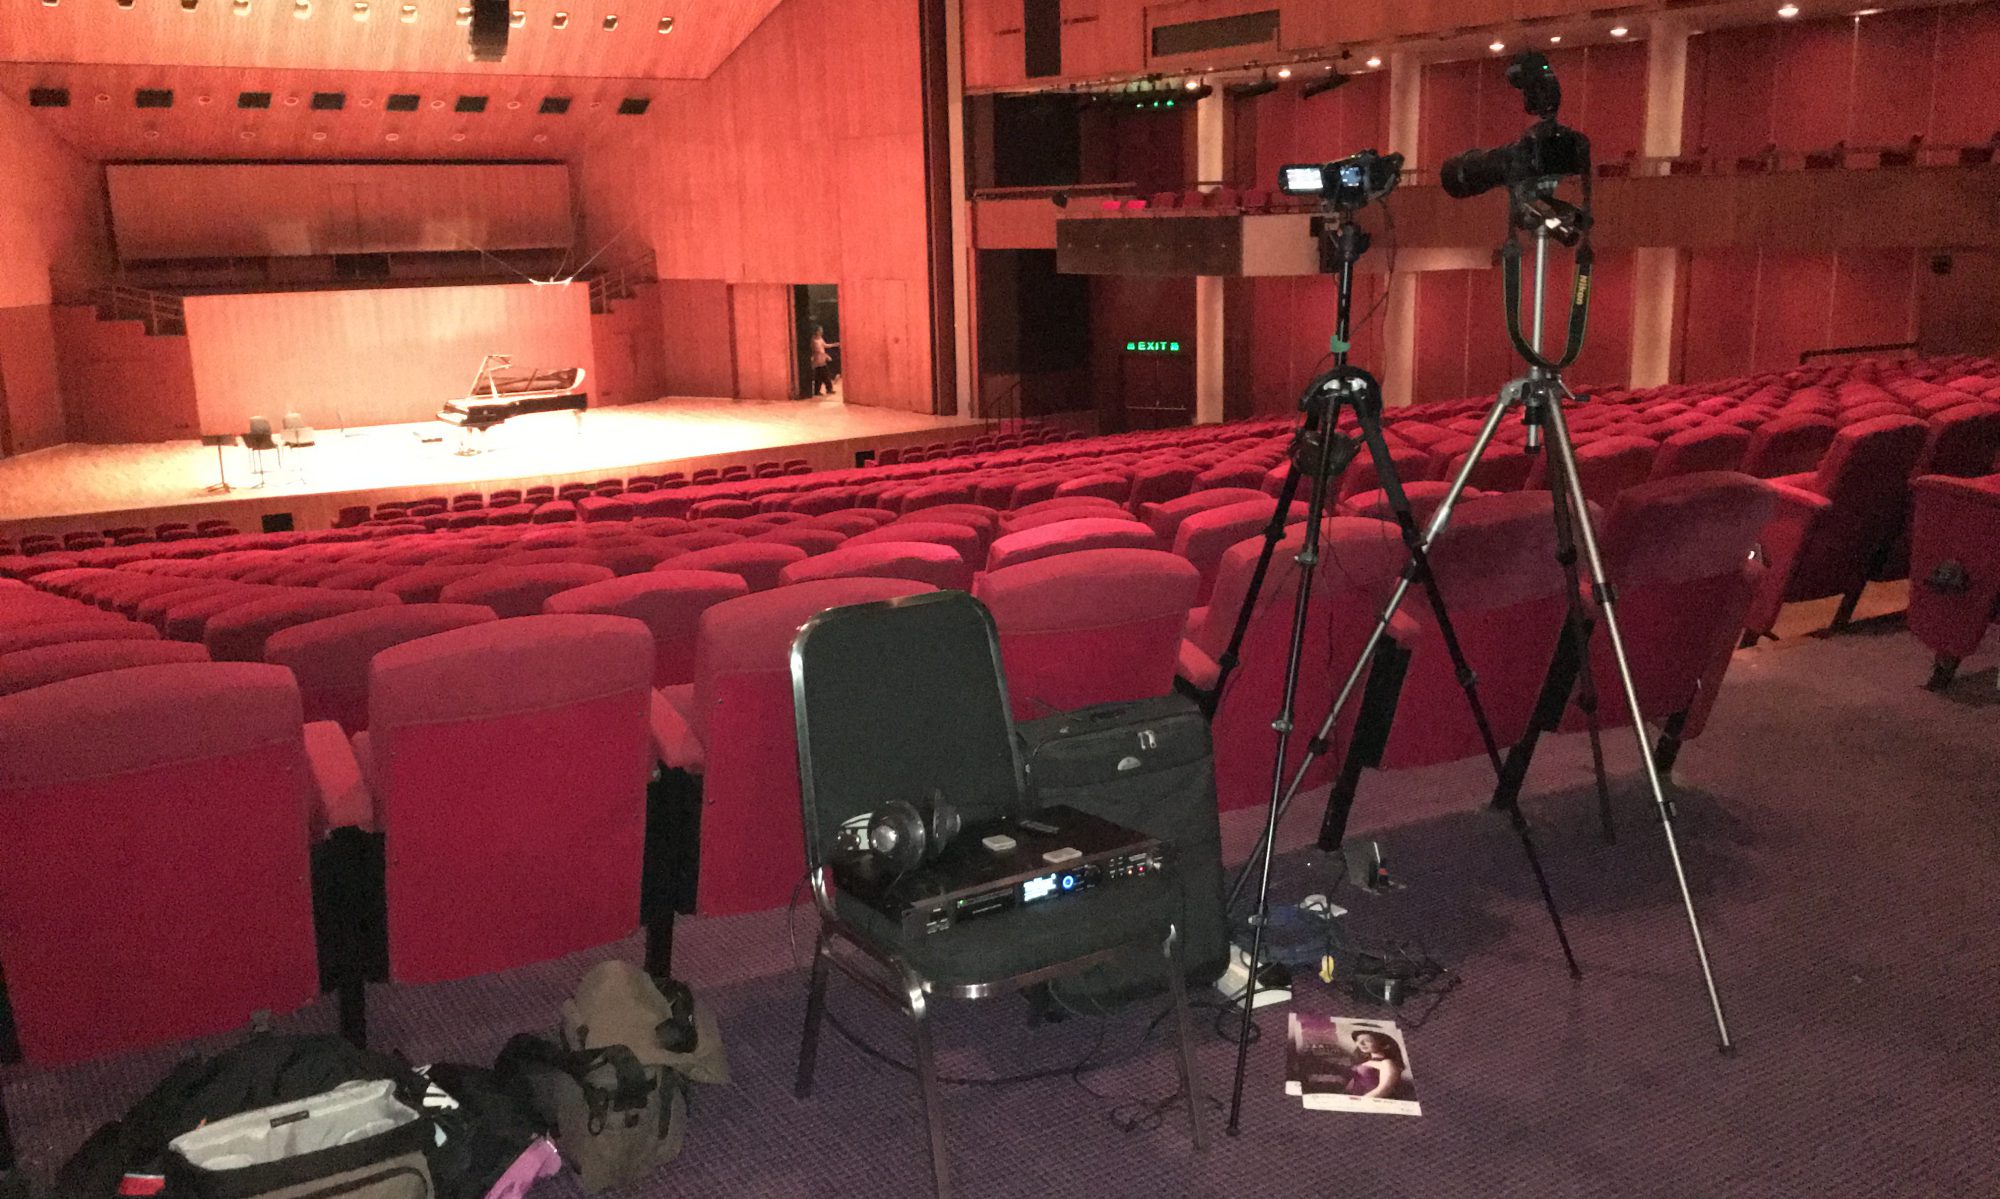
Asia Audio Society members were honoured to record this highly anticipated and sold out concert on DSD128, PCM24/176, 1/4 open reel and Studer 2496 digital. Full report to follow.
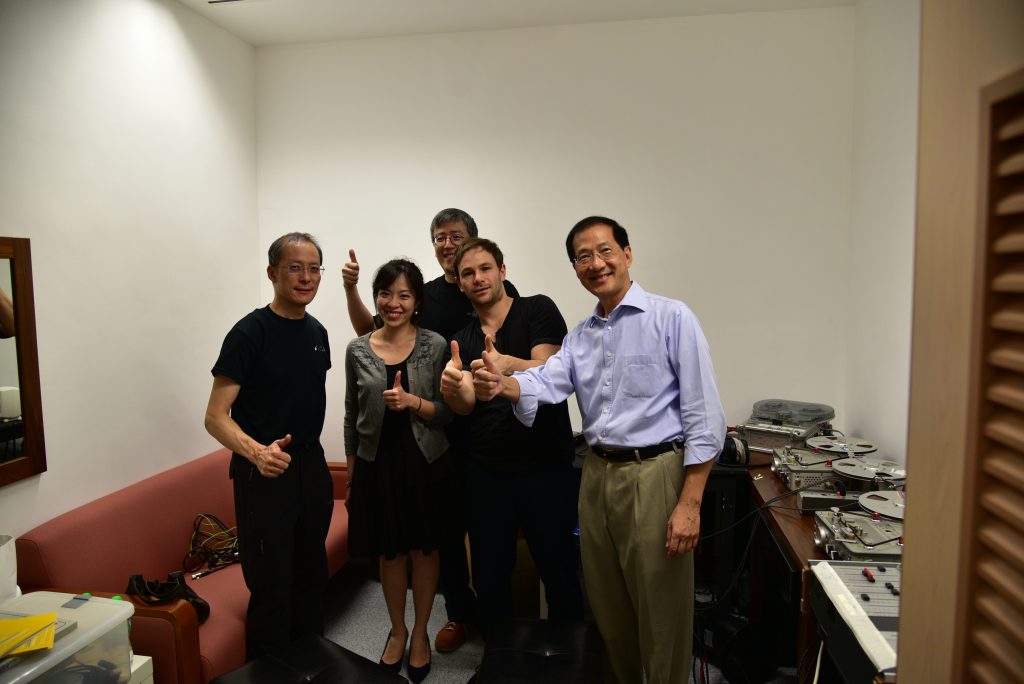
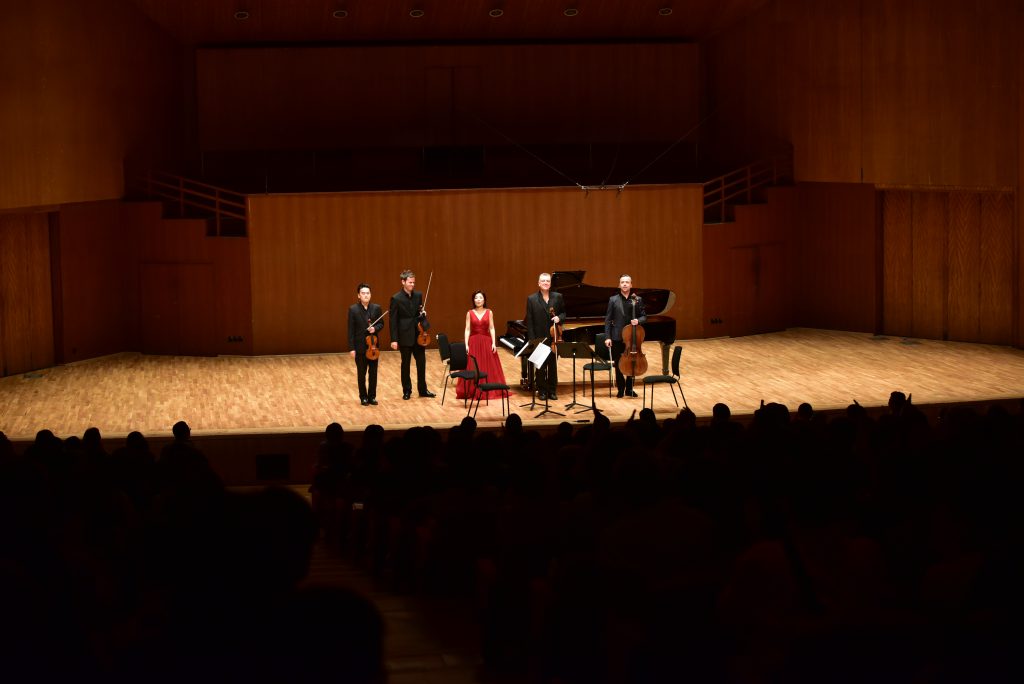
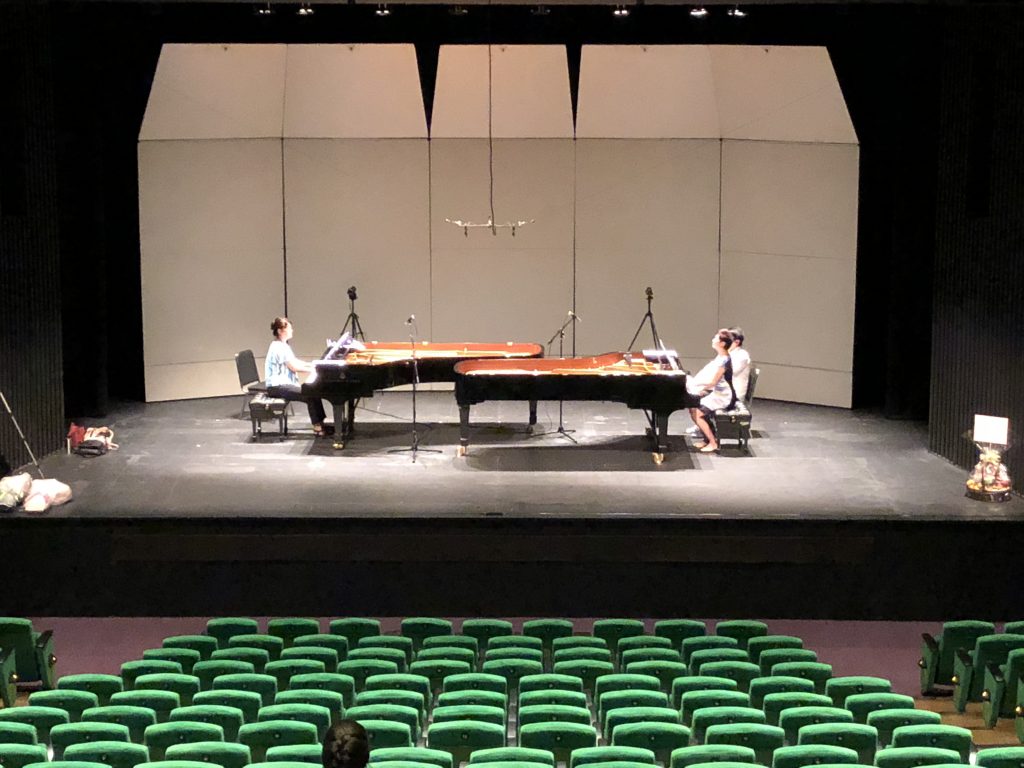
Asia Audio Society members recorded the sold-out concert using both DSD128 and 1/4 tape open reel.